Welcome to the second installment of this series. In the first part we managed to set up our development environment and finished with a simple window manager that shows windows. This is a great start but let’s now make it so that our window manager, you know, manages windows.
The specs
Before going further let’s decide what our window manager will do and look like. There are many ways a window manager can work, here is a list of features I would like the window manager to have. This list is not complete of course and might change in the future, that’s what you call a scope creep but that’s fine, this is our little playground and we do what we want.
On to the list of features.
- the window manager will be a tiling window manager. I personally use i3 and quite like it. The real reason for making it tiling is that I feel like it would be simpler to write a tiling rather than a stacking window manager
- it will have workspaces like any other window manager, this is a must
miniwmwill be configurable to some extent, we do want to at least be able to configure things that the window manager will launch at startup, this will be a great place to putpolybarand other bells and whistles that exist in the Linux desktop world
These are the things we really want our window manager to have. Let’s go to the “nice to haves”, it’s always good to have these.
- window decorations, like the top bar with the minimize, maximize and close buttons, this would be neat
- maybe we want the decorations to be themable? Imagine that!
- partial support for EWMH
How’s that for a feature list? Good? Great, let’s get into it!
Windows
What is as window anyway? In the X server world a window is a 64 bits unsigned integer. That’s right, it’s a u64 in Rust speak. Now we like types don’t we, let’s create a new type Window that we will use in our code, in miniwm/mod.rs we can add this
1pub type Window = u64;
Our Window type is nothing more than a type alias for a u64.
We want to be able to manage the windows so we need to keep a list of opened windows somewhere, we will use a BTreeSet for this. This collection has all the properties we want:
- easy to add/remove items to it
- is sorted, we really want the windows to be sorted in the order they were added
Our MiniWM struct now becomes:
1pub struct MiniWM {
2    display: *mut xlib::Display,
3    windows: BTreeSet<Window>,
4}
Before heading to the layout part, let’s correctly listen to the x11:UnmapNotify event sent from the X server when a window is closed. To do that we need to add the xlib::SubstructureNotifyMask. Selecting this mask will tell the X server that our window manager wants to listen to the unmap event (amongst others).
 1    pub fn init(&self) -> Result<(), MiniWMError> {
 2        unsafe {
 3            xlib::XSelectInput(
 4                self.display,
 5                xlib::XDefaultRootWindow(self.display),
 6                xlib::SubstructureRedirectMask | xlib::SubstructureNotifyMask,
 7            );
 8        }
 9
10        Ok(())
11    }
Next, in our main loop in run we match on the xlib::UnmapNotify event. When we receive that event we want to remove the window.
 1    pub fn run(&mut self) -> Result<(), MiniWMError> {
 2        let mut event: xlib::XEvent = unsafe { zeroed() };
 3        loop {
 4            unsafe {
 5                xlib::XNextEvent(self.display, &mut event);
 6
 7                match event.get_type() {
 8                    xlib::MapRequest => {
 9                        self.create_window(event)?;
10                    }
11                    xlib::UnmapNotify => {
12                        self.remove_window(event)?;
13                    }
14                    _ => {
15                        println!("unknown event {:?}", event);
16                    }
17                }
18            }
19        }
20    }
Upon receiving the unmap event we need to remove the window in question from the self.windows list. Once this is done we can call the self.layout() function we will define later.
1    fn remove_window(&mut self, event: xlib::XEvent) -> Result<(), MiniWMError> {
2        let event: xlib::XUnmapEvent = From::from(event);
3        self.windows.remove(&event.window);
4        self.layout()
5    }
With this out of the way we can start working on our layout code.
Layout
As per the specs, we want our window manager to be a tiling one. For the sake of simplicity we will only make it tile the windows vertically for now, we might revisit our algorithm later. There are a lot of different ways one can tile windows, we will start small.
Before laying out the windows we need to know what screen size we have. For this we can query Xinerama. Xinerama is an extension of the X window system that enables applications to use multiple screens as one display. Don’t worry, we won’t handle multiple screens just yet, we only want to know what’s the size of our screen.
xinerama is a feature of the x11 crate so we need to add it to the list of features in Cargo.toml:
x11 = { version = "2.20.1", features = ["xlib", "xinerama"] }
With that done, without further ado, here is the function to get the screen size
 1    fn get_screen_size(&self) -> Result<(i16, i16), MiniWMError> {
 2        unsafe {
 3            let mut num: i32 = 0;
 4            let screen_pointers = xinerama::XineramaQueryScreens(self.display, &mut num);
 5            let screens = slice::from_raw_parts(screen_pointers, num as usize).to_vec();
 6            let screen = screens.get(0);
 7
 8            if let Some(screen) = screen {
 9                Ok((screen.width, screen.height))
10            } else {
11                Err(MiniWMError::ScreenNotFound)
12            }
13        }
14    }
Nothing much is going on here, on line 4 we ask Xinerama to give us the list of screens, we convert these pointers to a vector on line 5 and finally, on line 6 we get the first screen, remember, no multi-displays (yet).
Great, with the list of windows to show and the screen size we can finally layout our windows as we want
 1    fn layout(&mut self) -> Result<(), MiniWMError> {
 2        if self.windows.is_empty() {
 3            return Ok(());
 4        }
 5
 6        let (width, height) = self.get_screen_size()?;
 7
 8        let win_width = width as i32 / self.windows.len() as i32;
 9
10        let mut start = 0;
11        self.windows.iter().for_each(|window| {
12            self.move_window(*window, start, 0_i32);
13            self.resize_window(*window, win_width as u32, height as u32);
14            start += win_width;
15        });
16
17        Ok(())
18    }
The move_window and resize_window are one line function that call the appropriate x11 function
1    fn move_window(&self, window: Window, x: i32, y: i32) {
2        unsafe { xlib::XMoveWindow(self.display, window, x, y) };
3    }
4
5    fn resize_window(&self, window: Window, width: u32, height: u32) {
6        unsafe { xlib::XResizeWindow(self.display, window, width, height) };
7    }
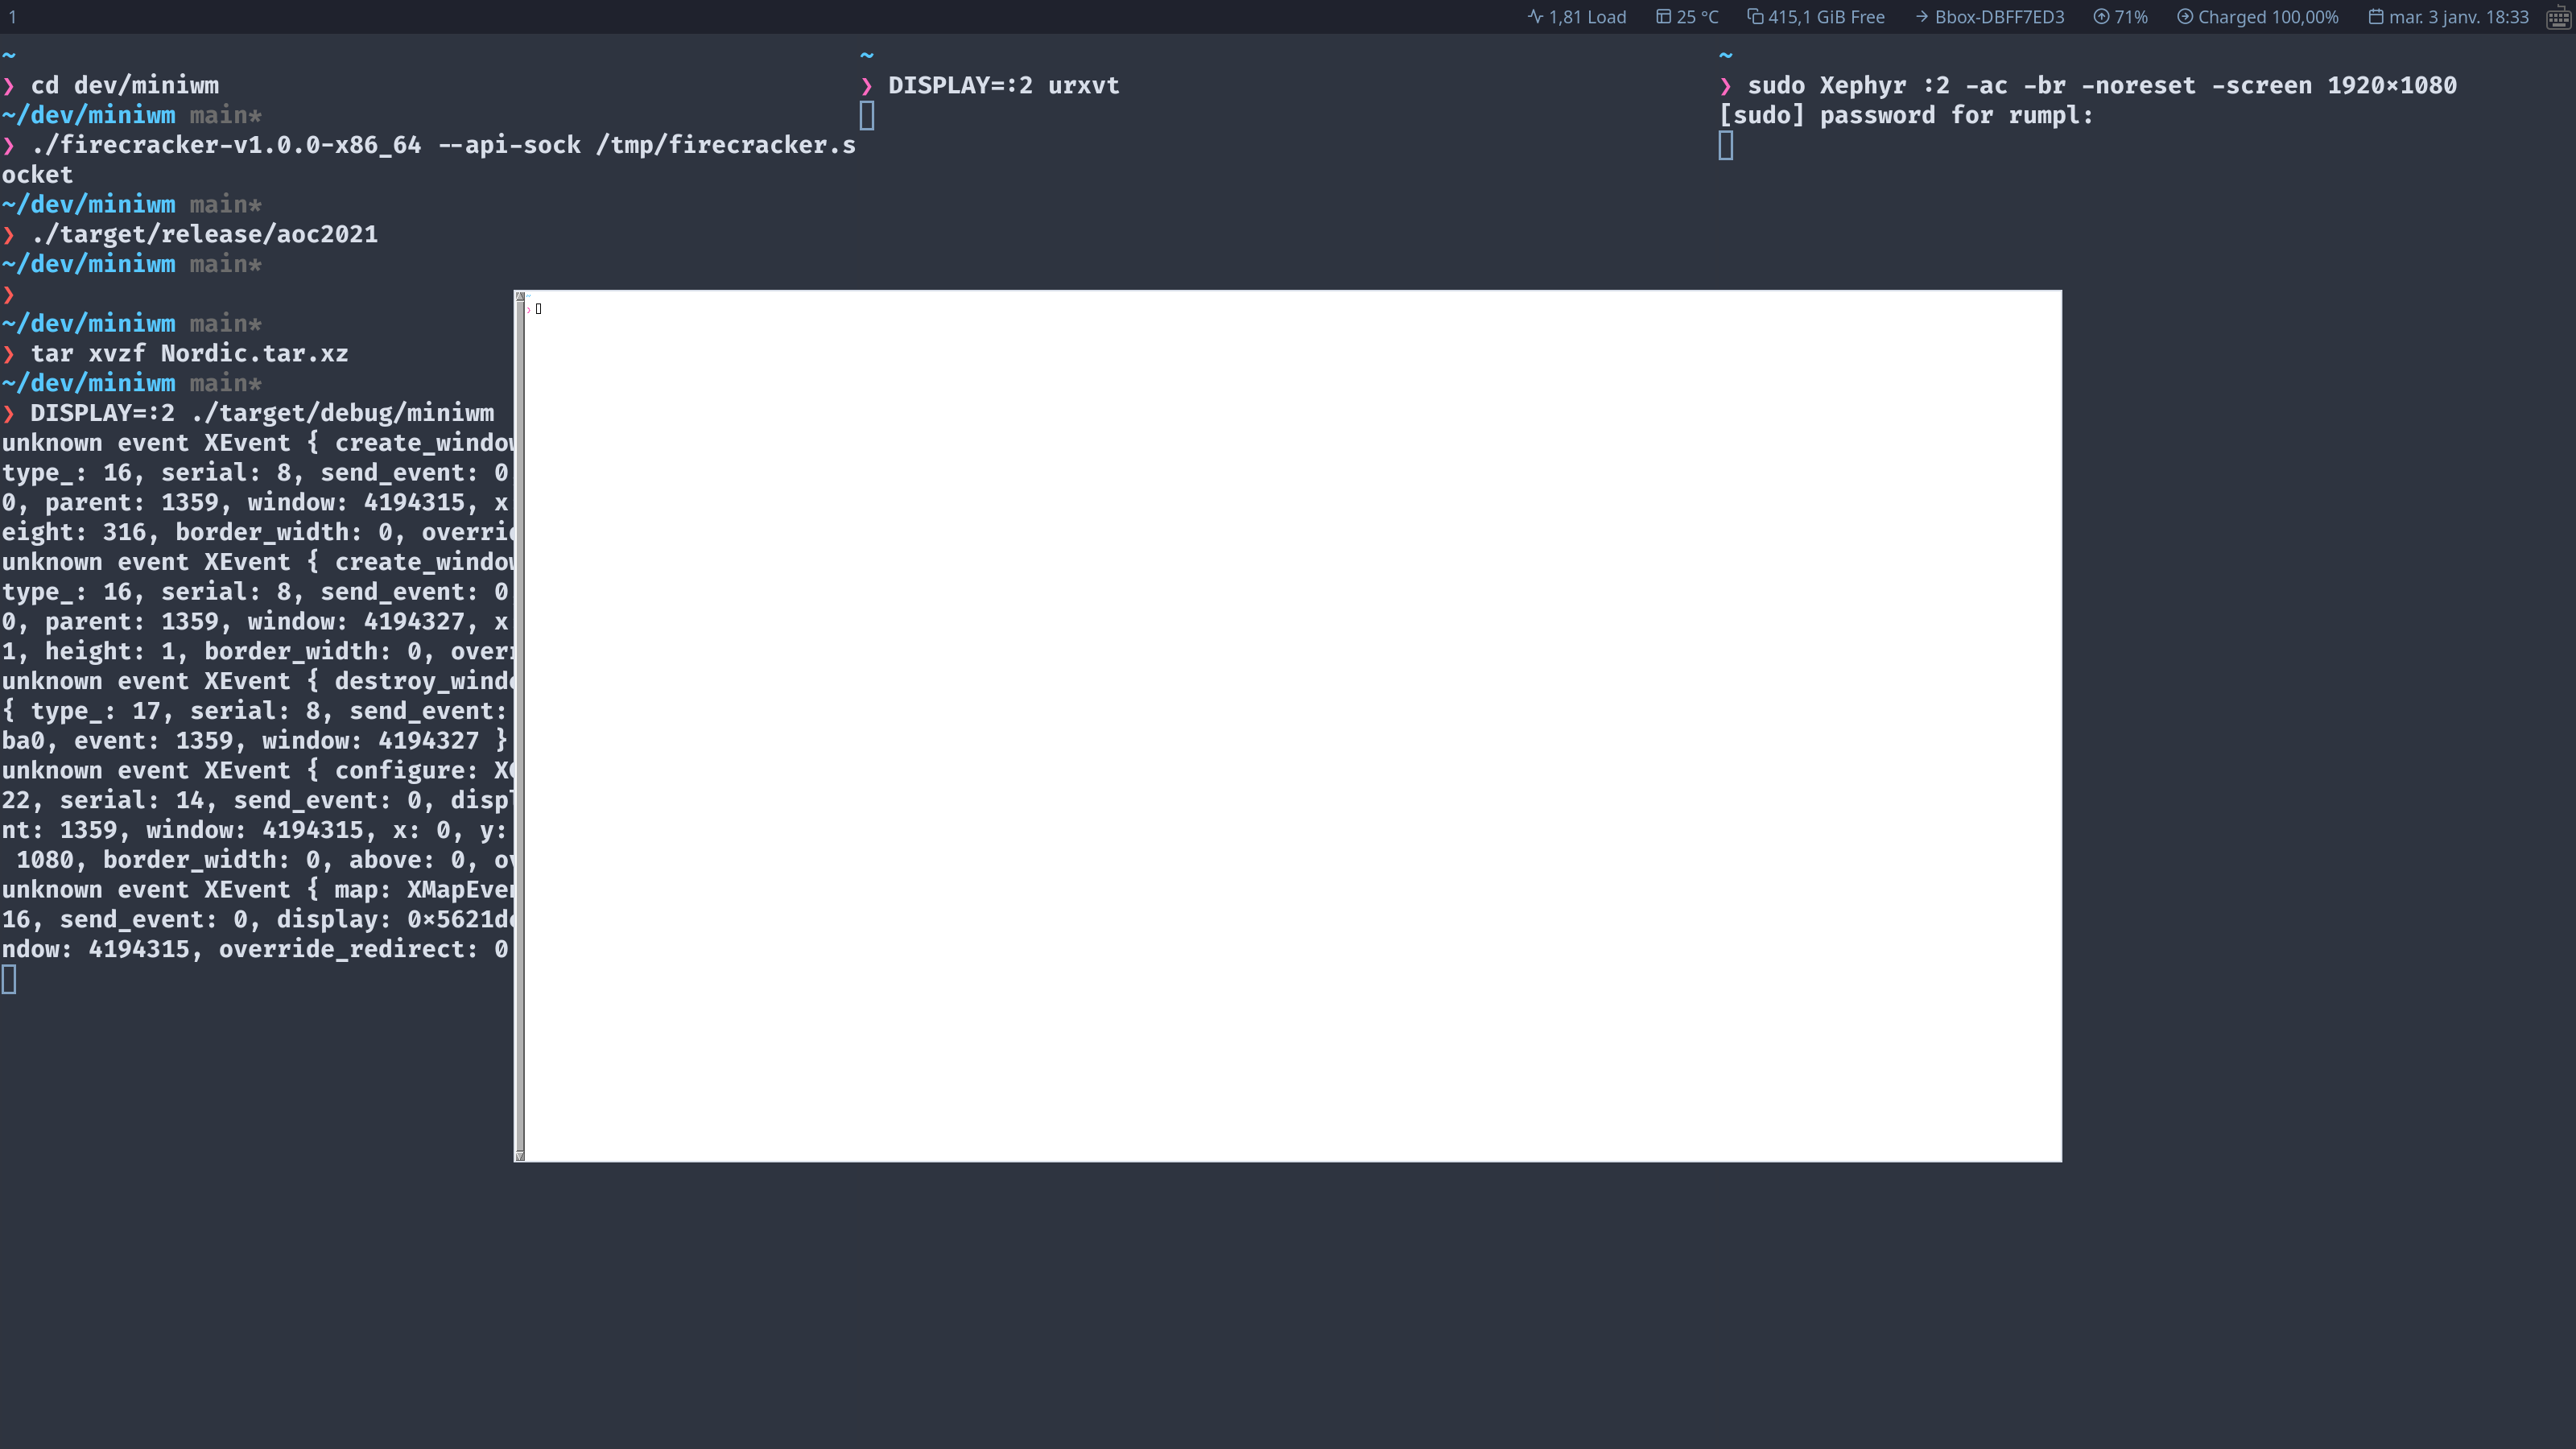
With all this code you should be able to see a window that takes the whole screen when alone
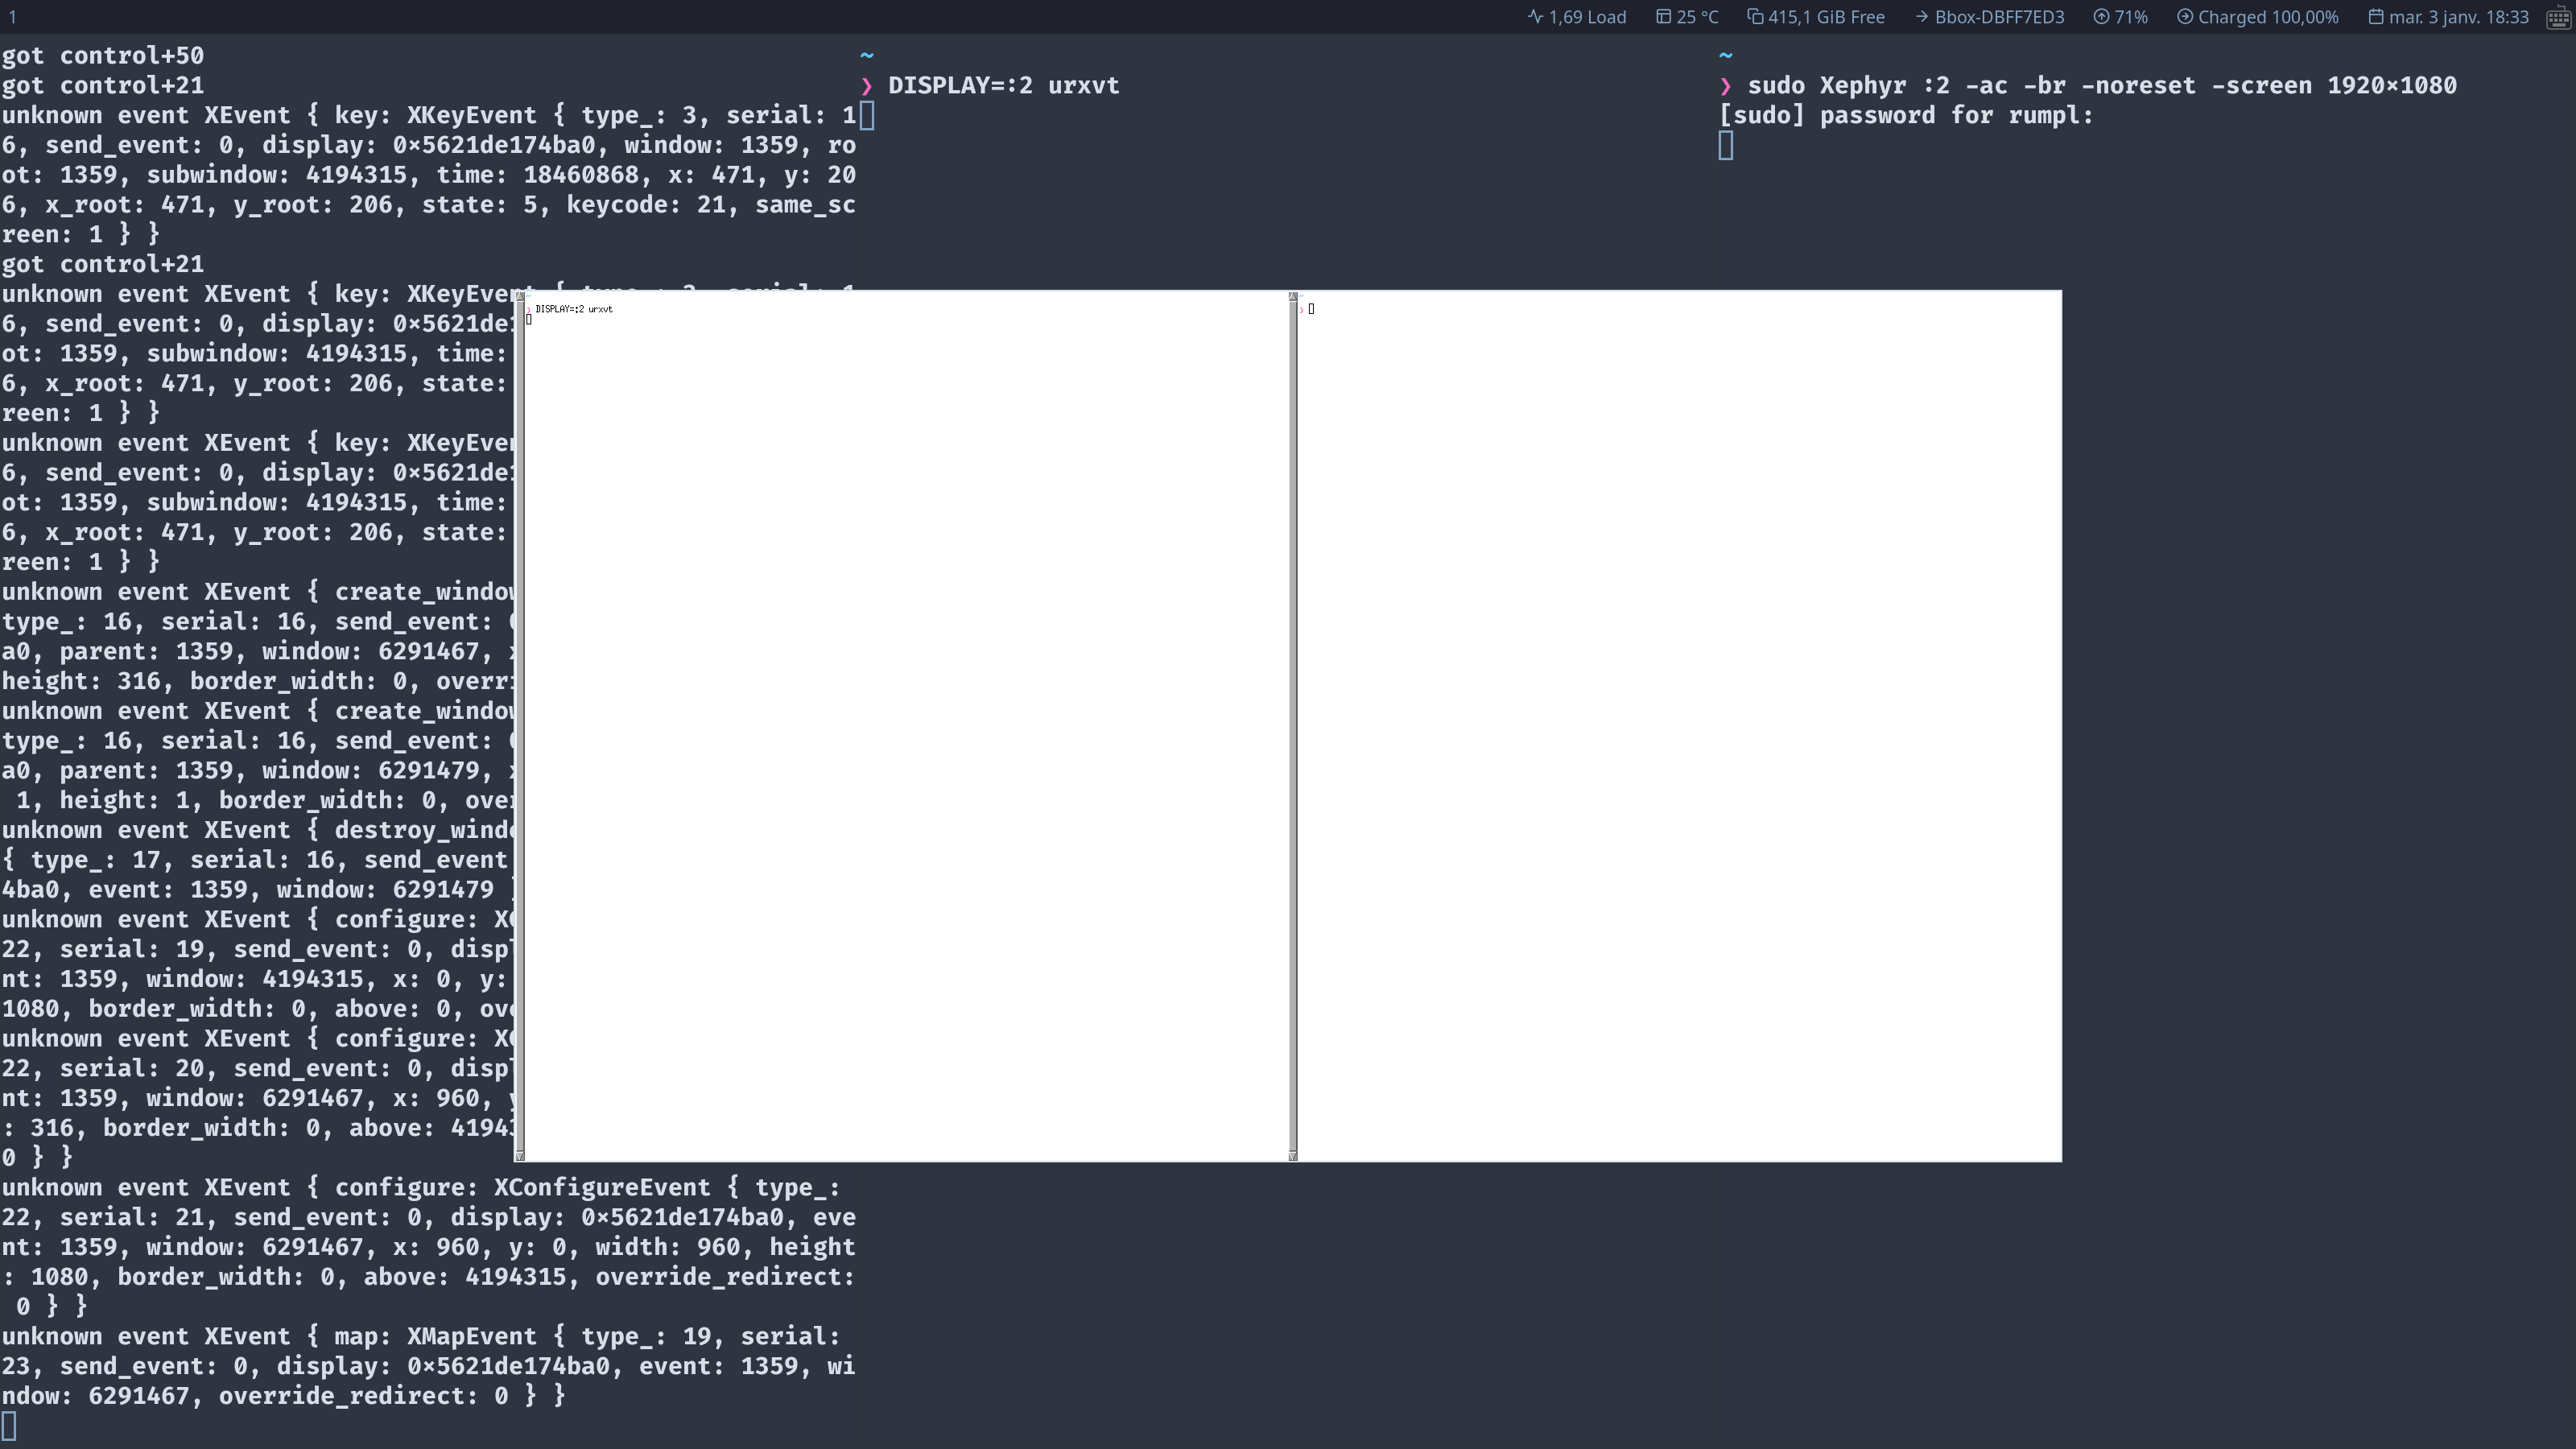
Adding one window splits the screen space between the two windows
Adding another window should move the first two to make place for the last one
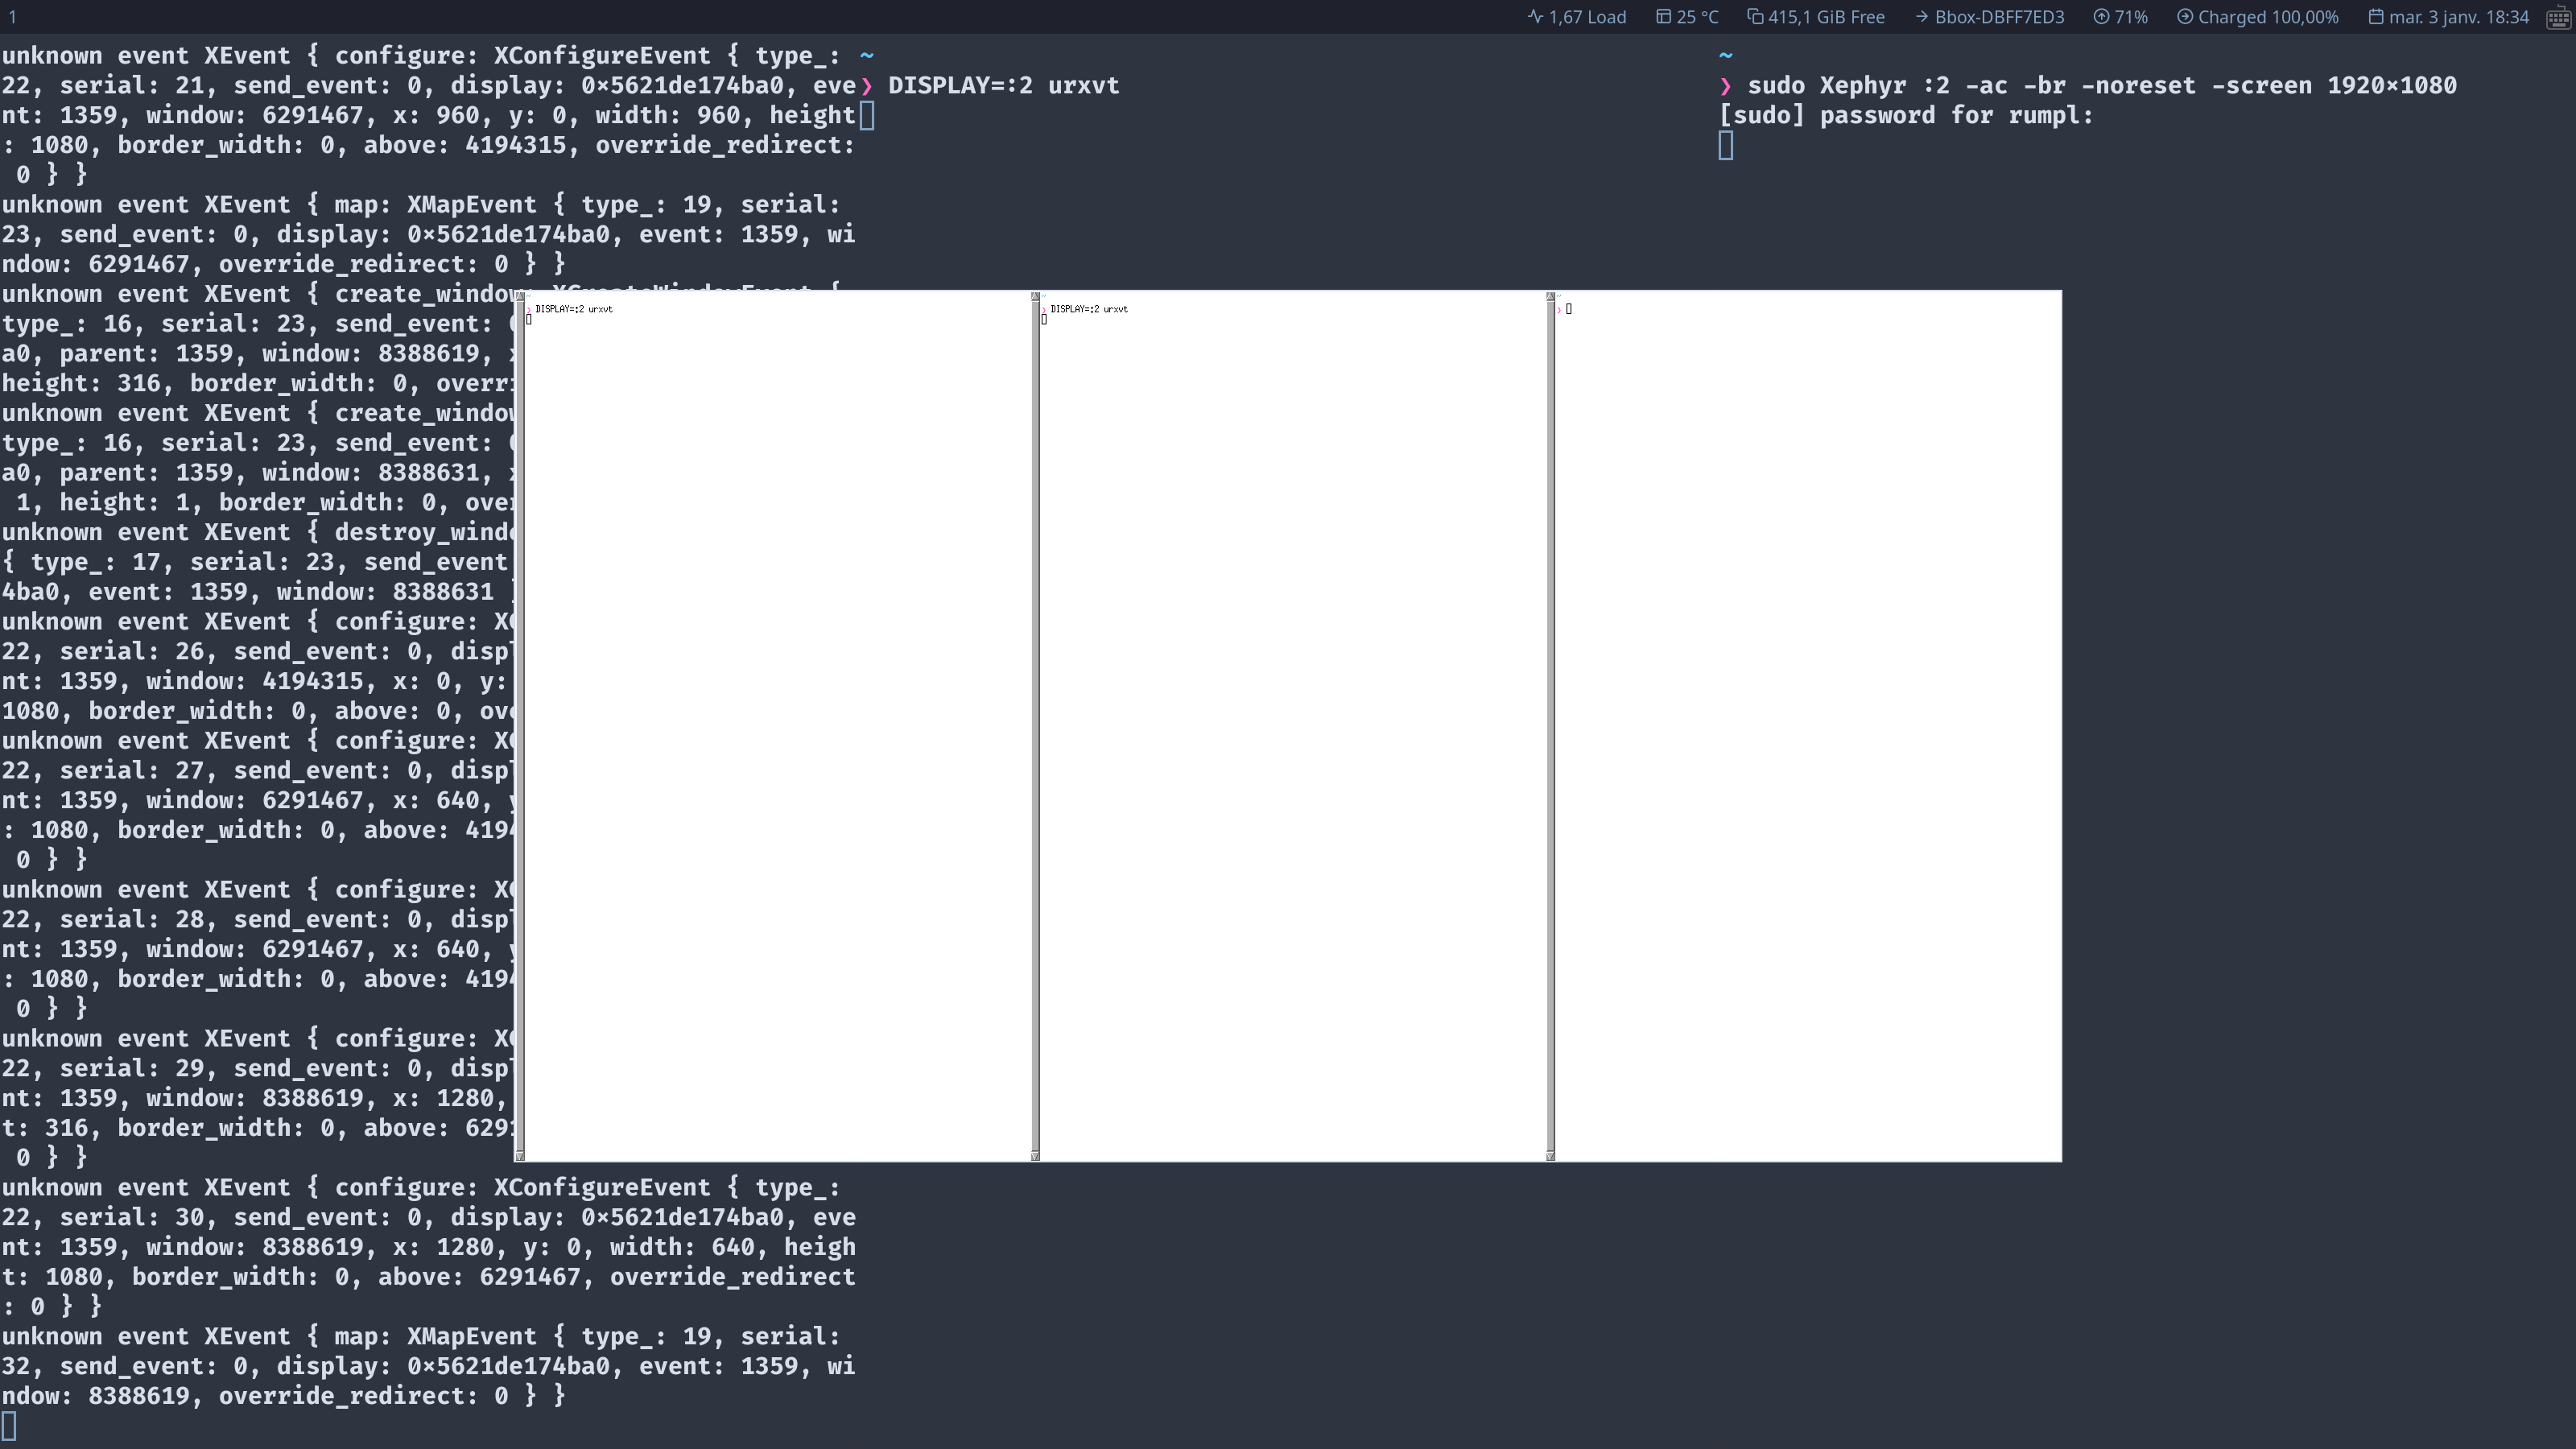
Would you look at that, it works!
This must be the simplest tiling manager out there but it’s it ours, we should be proud! The code of this article can be found on the miniwm github repository.
Tune in next time for some exciting new features like for example ✨ workspaces ✨.
This the second part in the “Writing a window manager in Rust” series